When I first set out to build a catio, it was with no practical building experience or any real idea of what I was doing. Luckily, with some helping hands and a can-do attitude (and only a few mental breakdowns), the project was a success! Read on for advice on starting your first catio construction, for all my fellow amateur builders.
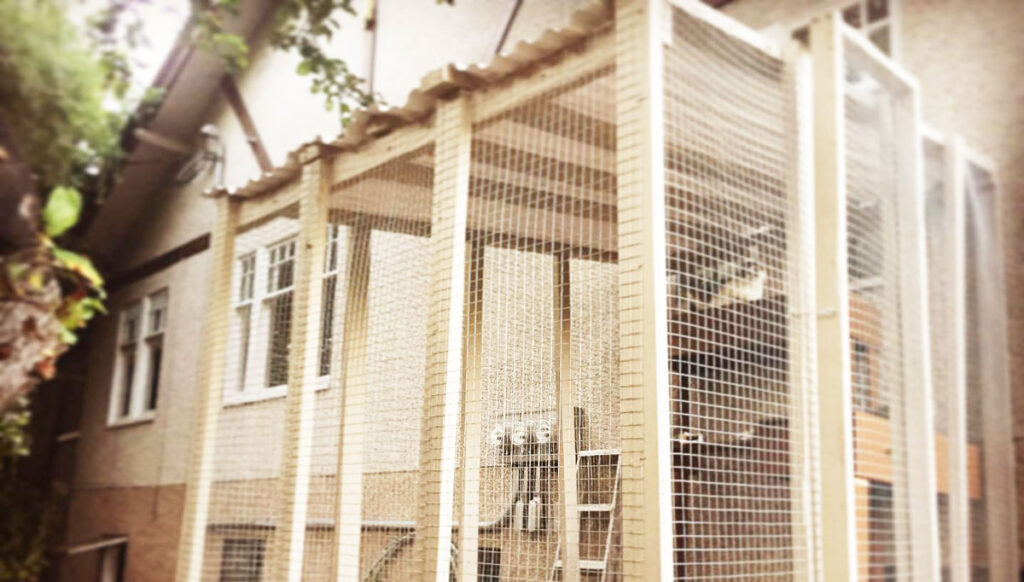
Catios have become a popular way for indoor cats to get some fresh air and have their own safe outdoor space. I first became interested in the idea while trying to transition my cats from being indoor-outdoor to indoor-only, after moving to a larger city and finding the neighbourhood cats not particularly welcoming. A few hundred dollars in vet bills later (and a few battle scars my cats will forever bear) I realized letting my kitties roam free as they had in the country simply wasn’t an option here. But knowing the adventurous nature of my cats, I also realized they wouldn’t be too happy about this lifestyle change.
So, in an effort to ease them into indoor life and still provide the enrichment of an outdoor environment, I started planning my first-ever construction project: the catio. To begin with, I needed a plan.
STEP ONE: PLANNING
Whether you’re someone who enjoys making lists and checking them twice, or someone (like me) who prefers diving in headfirst and learning on the job, doing a minimal amount of planning before starting any project is an important first step to success. Here are some good questions to ask yourself:
- How will my cat(s) access this space? Many catios attach to windows, so your cat can easily enter and exit the space from your home. Some are also accessed by a door, or exist as a completely separate area. Think about your living situation and what the easiest solution for you and your feline might be.
- What is my budget? How much do you want to spend on this project, in total? If you don’t have big bucks, don’t worry — you can still be resourceful and build something your cat will love. Borrow tools, find discounted or salvaged materials, and plan according to your budget.
- How large do I want the catio to be? Catios come in all shapes and sizes. Think about how much space you have to work with, your vision, and your budget; and you can construct a catio that fits all your needs.
- Who do I know who can help? Help is invaluable when it comes to a project like this. I roped in the help of my mum, since she’d already constructed two smaller catios for her cat, Poppy. I also borrowed my roommate’s table saw and power drill. Who do you know who’s handy, or has access to tools, and is willing to offer you their time and/or knowledge? You can also consult online sources or ask for advice at your local hardware store.
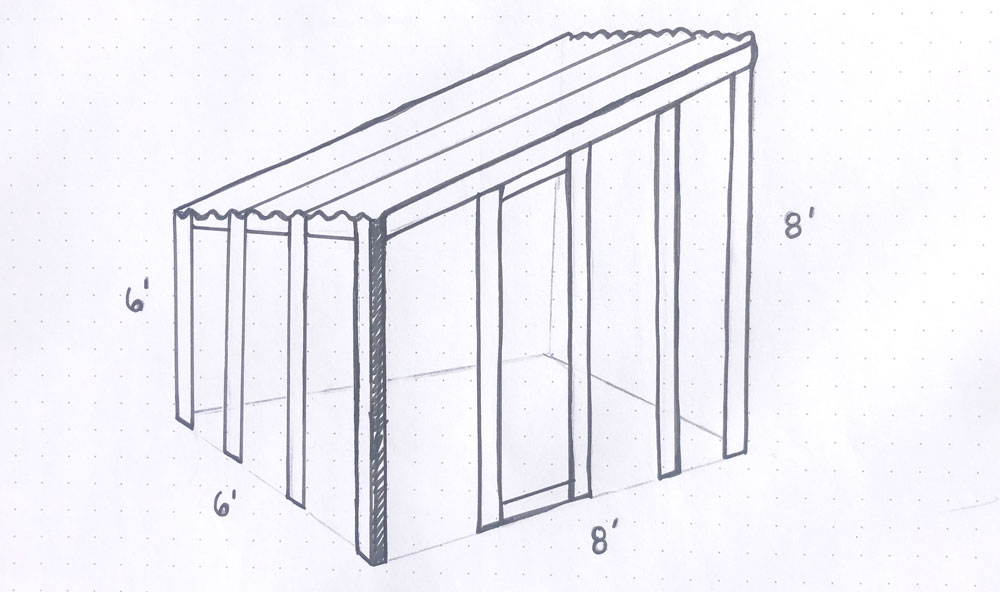
During my planning stage, I decided my bedroom window would make the most logical sense as an access point, although this presented a challenge in that it’s about 8 ft off the ground. This required me to add a kind of cat ladder, so my cats could safely get down to the ground (my roommate Josh was kind enough to build one out of scrap wood and an old set of dresser drawers, which he proudly calls his “jankiest work yet” — but don’t worry, it’s sturdy as can be). It also meant the catio needed to be TALL – and since I wanted space for my cats to run around on the ground, I chose to make it fairly large all around (8’x8’x6′) Next, I decided on a budget of a couple hundred dollars, as that’s what I could afford at the time. Finally, I rallied my resources and asked my mum for help designing a rough blueprint to work off of. Nothing too fancy, just something visual to give us an idea of what we were doing.
STEP TWO: ACQUIRE MATERIALS
The materials you’ll most likely be working with in your catio project are wooden boards to build the frame, and a wire mesh of some kind. You may also decide to build a roof, floor, door, or other components that may require additional materials. You can check various local hardware stores and online to see what the best options and cheapest prices are, and/or try to source free materials from friends or leftover projects.
For my catio project, I decided to use a wire mesh that was fairly strong with small gaps, as I didn’t want ANY houdini-like cat escapes. This was a bit pricier than chicken wire, which a friend suggested I use, but that just didn’t feel sturdy enough for my feisty girls. My roommate Josh was able to score me some free 2x4s from his work, and I bought the rest of the wood I needed at my local hardware store. For the roof, I chose PVC panels to keep the rain at bay. My project materials list (and amount spent) looked something like this:
- 2 x Mesh Wire Roll 2×50′ ($120)
- 13 x Wooden Board 2x4x8′ (scored free)
- 10 x Wooden Board 2x4x8′ ($40)
- 3 x Corrugated PVC Roofing Panel 8×2′ ($75)
- Pack of 100 Drywall Screws ($8)
- Exterior Weather Resistant Paint ($30 on sale)
- Heavy Duty Staples ($5)
For a total cost of $278 + tax. It was slightly more than I originally wanted to spend, but still within budget!
STEP THREE: BUILD!
Once you finally have a plan in place and all the necessary materials, it’s time to get to work! This part of the process can feel daunting to someone with no previous construction experience, which is why I recommend enlisting help from someone who knows a bit more about what they’re doing. My mum was a great person to have helping out, as she’s constructed a few different projects over the years, and knows some good basic principles. That said, we still figured out quite a lot of it as we went, and encountered problems we had to troubleshoot along the way.
We first began by building the frame. Because of the uneven ground outside my window, it was impossible to lay boards flat against the ground — so, instead of building a box-like frame we focused on building a kind of bottomless cage. We started with the four vertical corner posts; deciding where they should go, measuring their distance from one another, and attaching them at the top using horizontal boards. Next, we added additional vertical boards for support.
We also wanted the roof to slope down to allow rain & snow to slide off, so this meant one side of our structure needed to be taller. We made the side closest to the house 8ft (so the window could be accessed) and the opposite side about 6ft (still tall enough for a human to stand inside for cat visits).
One of the most challenging parts of this project was actually the door – we had to make it slanted on the bottom and the top so it would fit with the sloped roof and uneven ground. In the end we got it right, and installed a simple hook and eye lock so I could open and close the catio door easily to visit my babes.
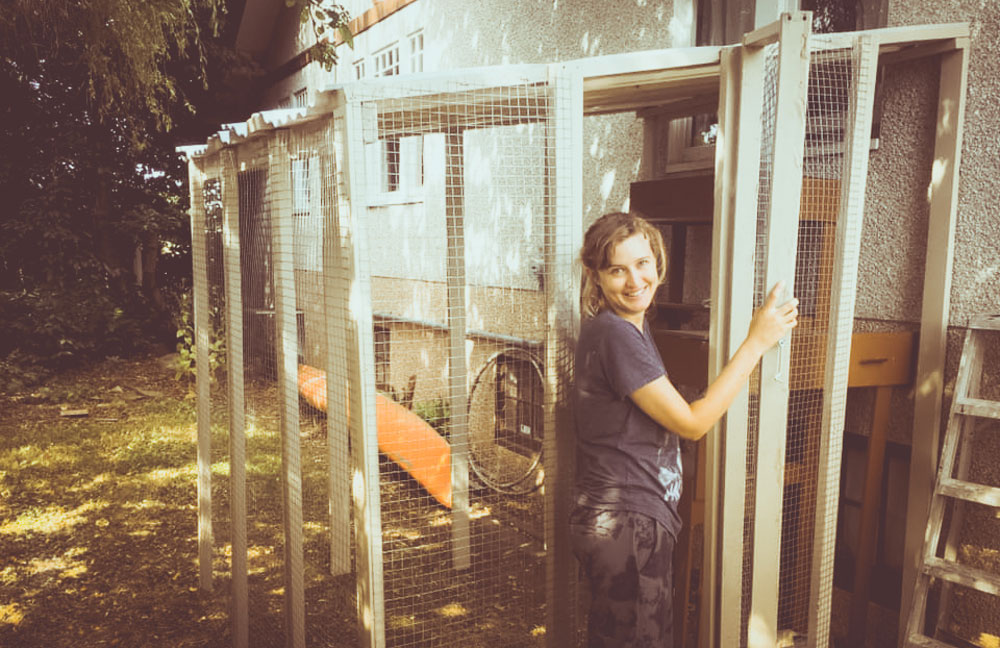
After we’d constructed the frame, I got to work painting the whole structure to weatherproof it. It took two coats and several days, during which time I sincerely wished I’d gone for a smaller design. After that, we attached the roof panels, and finally it was time to add the netting. We used heavy duty staples to attach the wire mesh to the wooden frame, hammering each one in and making sure there were no breaches in security. I was so paranoid about my cats breaking out, and honestly they’ve never once tried. It just goes to show, if you prepare for the worst, you’ll rarely encounter it.
Final thoughts
The power drill was terrifying to me at first, but I really grew to love it! Ditto the table saw (affectionately nicknamed “Butterscotch”) that we used to cut down larger pieces of wood to the sizes we needed. Throughout this construction process, my confidence in myself and my abilities grew a lot, and despite some of the challenges we faced, it was a pretty fun project. It took my mum and I about a month to finish construction, but that was with us just putting in a few hours each weekend. Depending on the size of your catio build and how much time you have to work on it, you can get the job done at a much faster or slower pace.
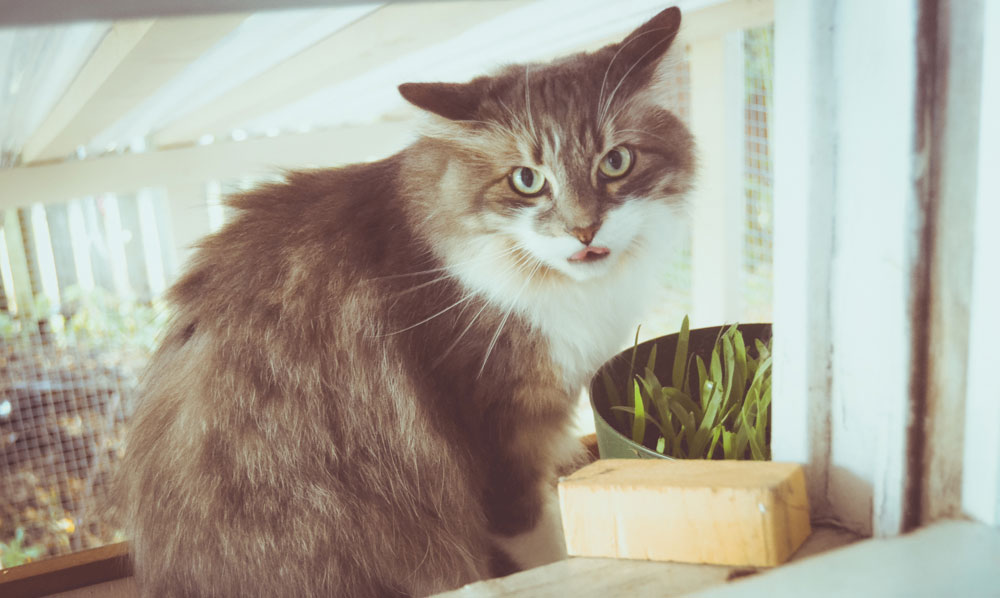
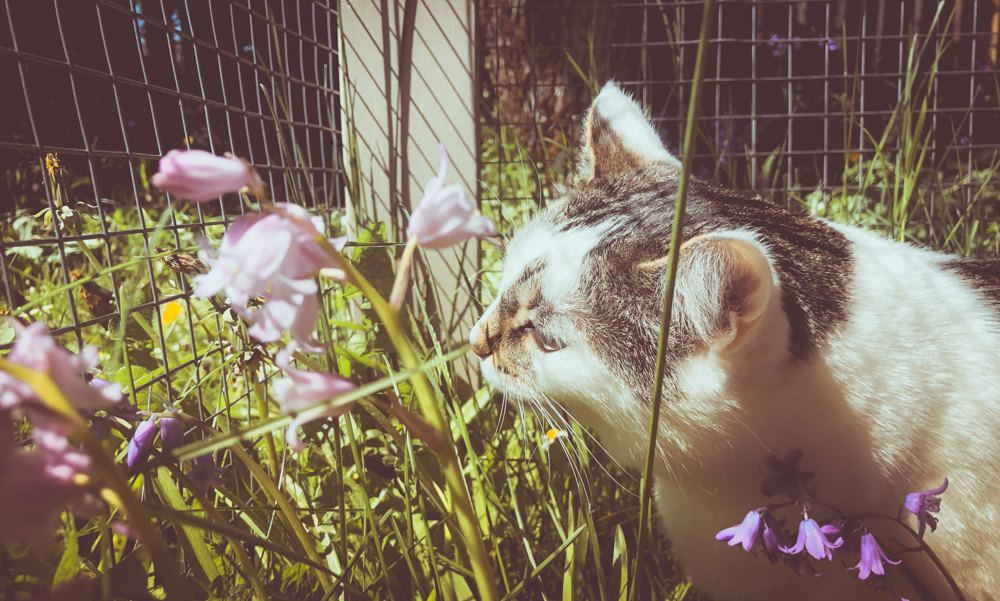
The biggest thing of course was the end result, which made it all worth it: seeing my cats happily chilling in their very own backyard hangout space. Over a year later the structure is still standing strong, and the first thing my cats want in the morning (after breakfast) is for me to open the window and let them out to bask in the hot sun and the cool breeze. If you’re considering a catio for your cats, I really can’t recommend it enough. It’s a gift you can give them that will enrich their lives for years to come.
